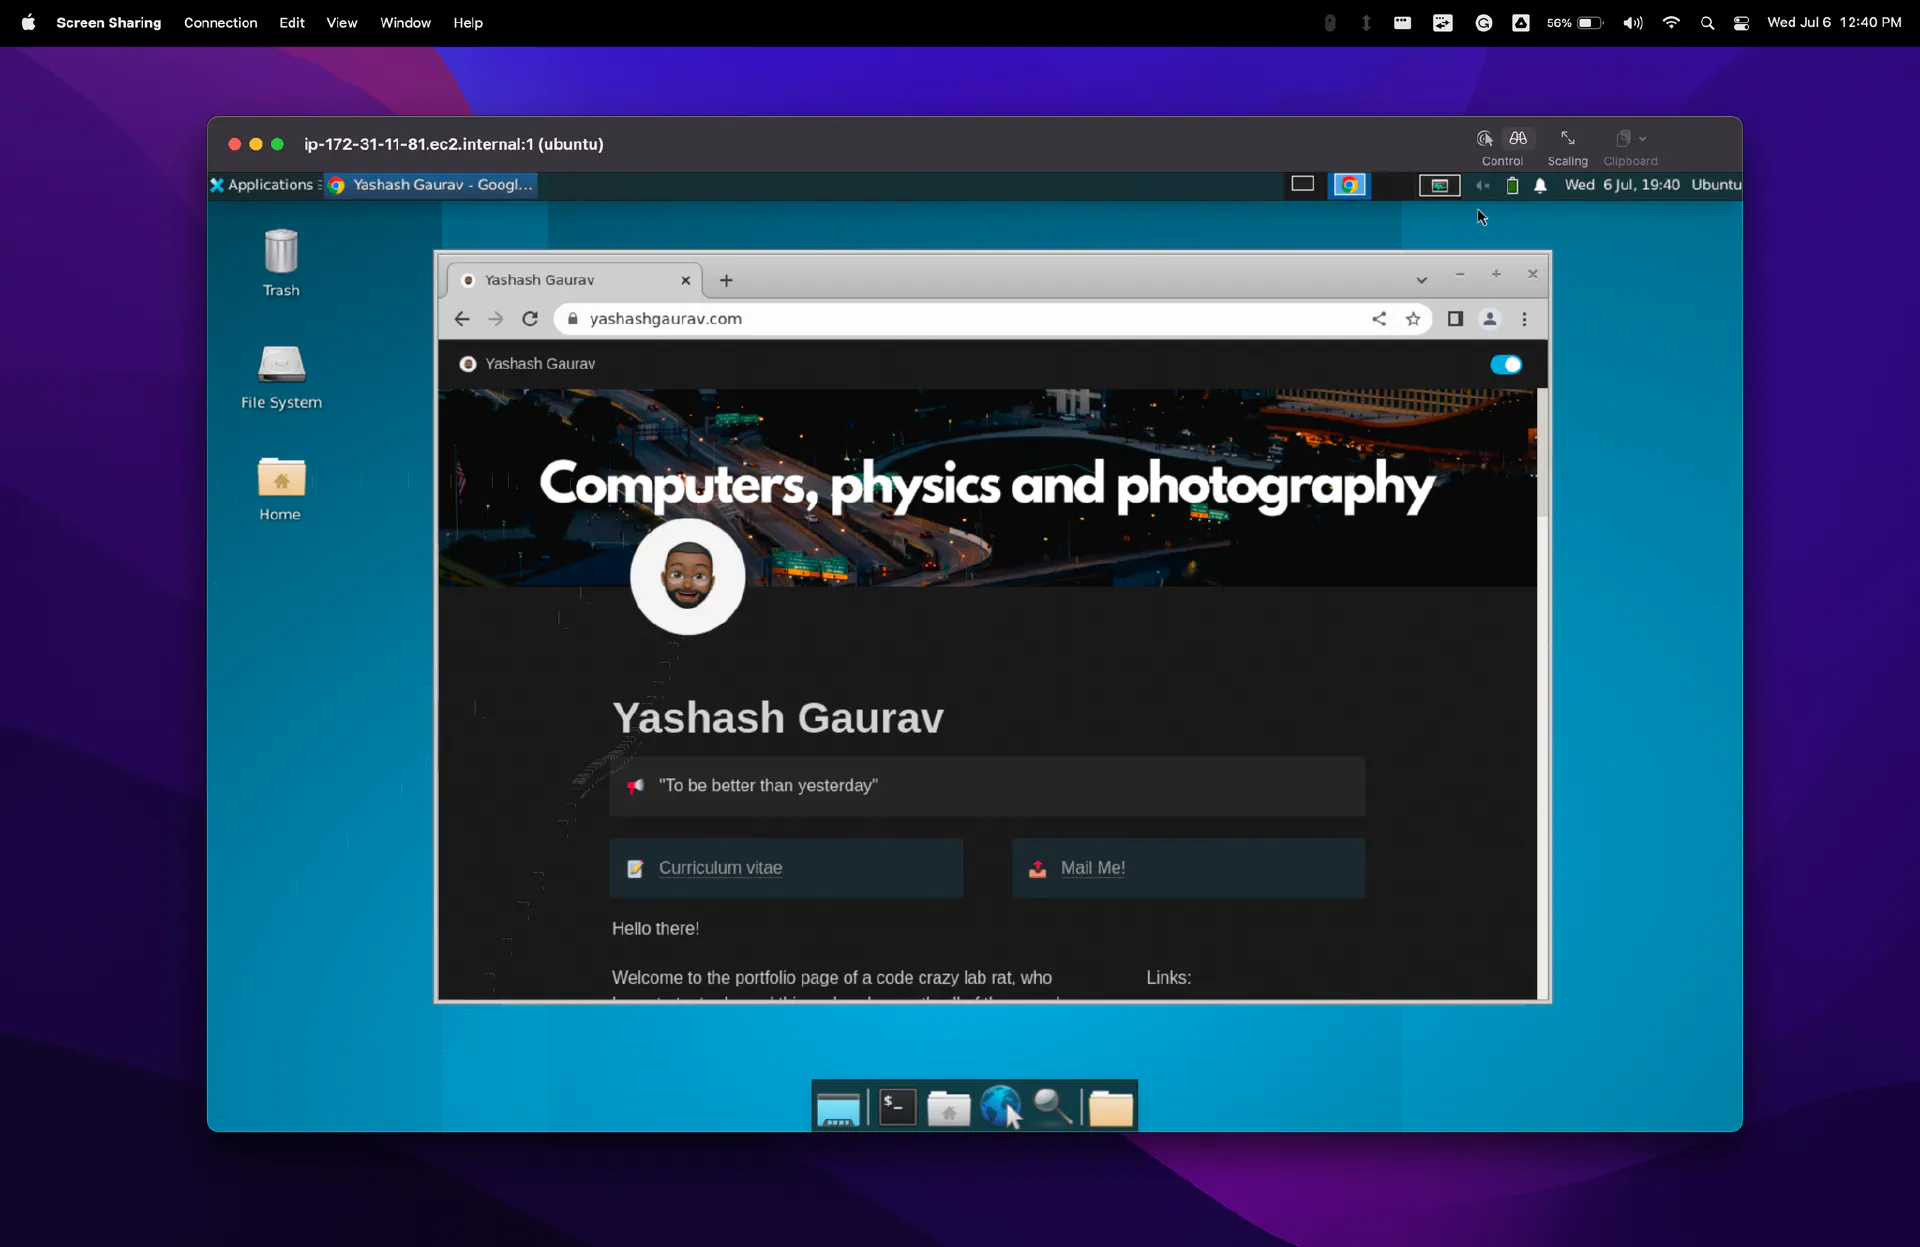
I have broken my head open way too many times to not note this down for once and for all:
References
- linuxize.com
- How to Install and Configure VNC on Ubuntu 20.04 | DigitalOcean — Virtual Network Computing, or VNC, is a connection system that allows you to use your keyboard and mouse to interact with a graphical desktop environment on a remote server. It makes managing files, software, and settings on a remote server easier for users who are not yet comfortable with the command line.
Steps that worked:
On AWS - requisition a VM:
- EC2 → Launch Instances
- Choose Ubuntu Server (20.04 LTS)
- Make sure your Security Group has inbound access on port 5901 (or your VNC Server’s port of choice) and port 22 for SSH of course
- Request spot instance to save money (Not a required step)
- When your instance is running, using the Connect button on the top, go to the ‘SSH Client’ tab
- Copy the ssh connection string eg:
ssh -i "saved_.pem" [email protected]- Make sure the path to the
.pem file - your private key - is accurate.
On your system:
- Make sure your
.pem has execute permissions:
1
| chmod 400 "path_to_your_private_key.pem"
|
- Open terminal and paste the connection string.
- If it times out, recheck if your instance’s security group has adequate port inbound permissions.
- Accept fingerprint.
Side note: NOW YOU CAN USE VS CODE TO CONNECT 🥲 - VS Code with proper extensions is by far (imho) the best tool to connect and work on remote dev environments.
Once SSH-ed into your AWS server:
- Update the system and its packages.
1
2
| sudo apt-get update
sudo apt-get upgrade
|
- Install Xfce - the service that creates the desktop-like (GUI) experience for you
1
| sudo apt install xfce4 xfce4-goodies
|
- Install and run tigervncserver - the service that hosts displays as services.
1
| sudo apt install tigervnc-standalone-server
|
- Set password to view VNC hosted displays (remember this as this will be used whenever you try to connect to the VNC Server)
1
2
3
4
| ##output
Password:
Verify:
Would you like to enter a view-only password (y/n)? n
|
- Make sure to configure TigerVNC server to use Xfce:
Update (or create) the ~/.vnc/xstartup file on your server.
1
2
3
4
| #!/bin/sh
unset SESSION_MANAGER
unset DBUS_SESSION_BUS_ADDRESS
exec startxfce4
|
Make the file executable:
1
| chmod u+x ~/.vnc/xstartup
|
- Save more configs to be loaded each time, update the
~/.vnc/config file
1
2
| geometry=1920x1080
dpi=96
|
- To start the vncserver
- List the running session:
1
2
3
4
5
| ## output
TigerVNC server sessions:
X DISPLAY # RFB PORT # RFB UNIX PATH PROCESS ID # SERVER
1 5901 13741 Xtigervnc
|
In the above output you can see that the X Display column tells you the display ID and the RFB PORT column tells you the port on which that display is hosted for you to access.
- How to kill a session:
- ‘cuz you’ll need it - Install Google Chrome
1
2
| wget https://dl.google.com/linux/direct/google-chrome-stable_current_amd64.deb
sudo apt install ./google-chrome-stable_current_amd64.deb
|
^ post this you’ll be able to see the Google Chrome application in the ‘Internet’ menu of Applications list drop down on the top left corner of the XFCE Desktop. Now you’ll be able to run your Google Colab instances forever 🥺. But we have not seen a screen yet, so…
Connecting to VNC Server from your MacOS System:
- On your system’s fresh (MacOS) Terminal:
1
| ssh -L 5901:127.0.0.1:5901 -N -f -l {user_name} {server-public-address}
|
NOTE: rerun the above line every time Share Screen gives you ‘Your remote does not have the service running’ type of errors.
Else, In case you have problems doing that because of authentication issues, https://unix.stackexchange.com/questions/412750/ssh-port-forwarding-with-private-key - worked for me:
1
| ssh {user_name}@{server-public-address} -i path_to_keyfile.pem -L 5901:127.0.0.1:5901
|
PS: in my case the user name was ubuntu and server address looked like ec2-#-###-##-###.compute-1.amazonaws.com
Now your system’s 5901 port is forwarded to your server’s 5901 port through the SSH tunnel.
- On your server (ssh-ed shell), you will have to update the password of your user to log in successfully to your VNC instance.
Then run:
^ ubuntu is my username on the server.
It is going to prompt:
1
| Enter new UNIX password:
|
^ enter password for user (remember this as well, post logging into the VNC service you will have to log into your own user account as well)
- Go to Finder on your system, Menu Bar → Go → Connect to Server
Enter: vnc://localhost:5901 as server to connect to - note this is connecting to your own system’s port that you have forwarded to the server’s VNC service that uses SSH for connection.
- Connect, enter password you set for VNC first and then password you set for your user.
If you have problems anywhere, leave comments. :)